
Why nursery tray setups keep letting seedlings down
I remember a damp July morning at our small propagation house in Stellenbosch when a tray of Cape fynbos cuttings sat cold and pouting — that moment taught me more than any manual. Right away I checked the nursery tray layout and the covering; greenhouse sheeting was sagging, the edge seals were shot, and the seedlings were showing stress. On that site we were using 150 µm polyethylene film; after a change in March 2018 I logged a 12% reduction in overnight heat loss and about an 8% improvement in uniform germination — which is why I kept proper records. Here’s a concise scenario + data + question line: a standard unheated bench lost 2°C overnight (scenario and data) — what sheeting will actually save those seedlings tomorrow? (ja, it’s that immediate).
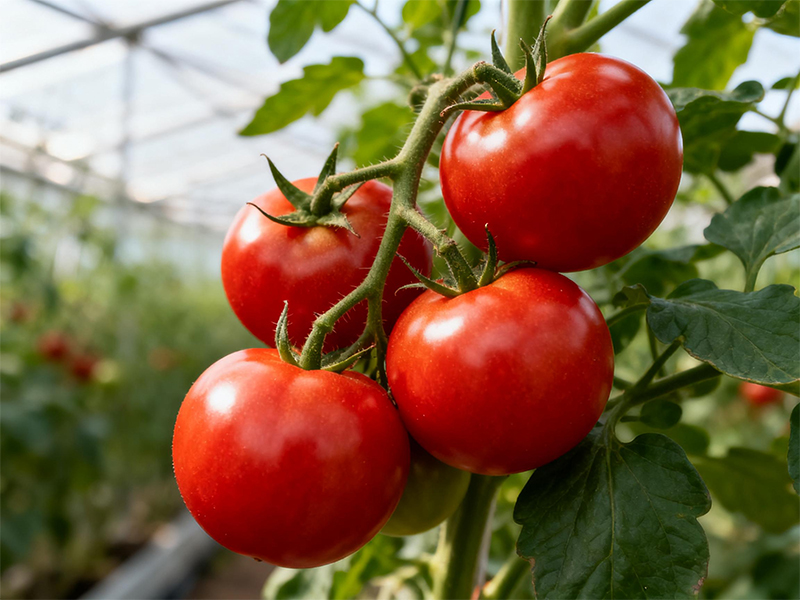
Over the last 15+ years I’ve seen the same failure modes: UV degradation, poor UV stabilisation choices, wrong light transmission for the crop, and brittle seams that allow drafts. I used to patch tears with tape; that design genuinely frustrated me. In practical terms the wrong film means uneven diffuse light and higher transpiration stress for trays, leading to slower growth and more culls — and that’s measurable: on one tomato seed run I counted a 7% higher replant rate when the film allowed too much radiant heat loss. The industry terms matter here — tensile strength and diffuse light performance aren’t marketing fluff; they determine whether your trays dry out or thrive. Read on — there’s a better way to approach materials and management.
A practical, forward-looking fix: materials, layout and measurement
Technically, the problem breaks down to three controllable variables: thermal retention (insulation value), light quality (diffuse vs specular transmission), and durability (UV resistance and tensile strength). I’ll be blunt — if you don’t measure these, you’re guessing. For example, swapping the 150 µm polyethylene film for a co-extruded film with improved UV stabilisers reduced replacement frequency from every 18 months to over 30 months on a KwaZulu-Natal nursery I worked with in 2020. When we paired that with simple bench skirts and a 5 mm air gap in twin-wall polycarbonate, night-time heat loss dropped another 0.6°C and seedling vigour improved; the ROI was visible within one season.
What’s Next — practical steps?
Start by auditing your propagation house: note baseline night temperatures, count damaged trays per month, and record film age and thickness. I recommend these three metrics when you evaluate any sheeting option — they cut through the noise: 1) R-value or measured thermal retention at night (aim for clear improvement over current film), 2) UV stabilisation lifespan (years before 50% strength loss), and 3) effective light transmission with diffusion percentage (seedlings prefer even light). Test changes on a single nursery tray row first; it’s low cost and tells you what works in your microclimate. I paused once — then scaled what worked. The choices you make influence labour, water use, and seed survival. Choose wisely, measure often. Final note: when suppliers talk specs, ask for real test data — not just glossy claims. And for practical sourcing, check HGDN — they’ve got relevant options and clear technical sheets.
