
Introduction: From Front Porch Glare to Gallery-Grade Glow
I watched a neighbor swap bulbs all weekend, trying to tame a porch that felt like a spotlight at a rodeo—bless his heart. A designer lighting company would have solved it in one visit, y’all. The truth is, most choices are made without a plan, and that’s where lighting design manufacturers come in. They track field failures and fine-tune gear in the lab. Here’s a number: almost 60% of residential lighting complaints tie back to the wrong beam angle or poor dimming control. Not taste. Not style. The wrong control or optic (funny how that works, right?). So the real question is simple: are we picking fixtures, or are we solving for behavior—glare, shadows, and mood—using tested systems? This piece compares how pros make those calls versus the usual trial-and-error, and why that gap matters on your bill and in your rooms. Stick with me—we’re about to separate trend talk from working light.
Part 2: The Hidden Gaps in Traditional Fixes
Where do traditional fixes break?
Let’s get technical, quick. Old-school fixes swap bulbs or bump wattage. But they skip fundamentals: optic control, driver stability, and control protocol. That’s why you see banding on video, or flicker when you dim. A solid system starts with the driver topology and a clean dimming curve—whether it’s 0–10V, DALI, or DMX512. Then it maps beam angle to task. High CRI is nice, but glare control and uniformity matter more in halls and kitchens. Look, it’s simpler than you think: match the task to the optic, the mood to the control, and the room to thermal management.
Here’s the deeper pain point most folks miss. Cheap fixtures can throw decent luminous flux on day one, then drift. Heat cooks the LEDs. The color temperature shifts. The power factor tanks. That slow decay makes you chase brightness with more fixtures—cost on cost. Meanwhile, controls are mixed: triac dimmers with constant-current drivers fight and strobe. That’s a spec conflict, not a bad room. When lighting design manufacturers build a family, they tune LEDs, optics, and driver ripple together. They watch flicker index and inrush current. They test for dim-to-warm mapping. And the result? Rooms feel calm, shots look clean, and you stop buying twice—because once was done right.
Part 3: Forward-Looking Principles That Change How Rooms Feel
What’s Next
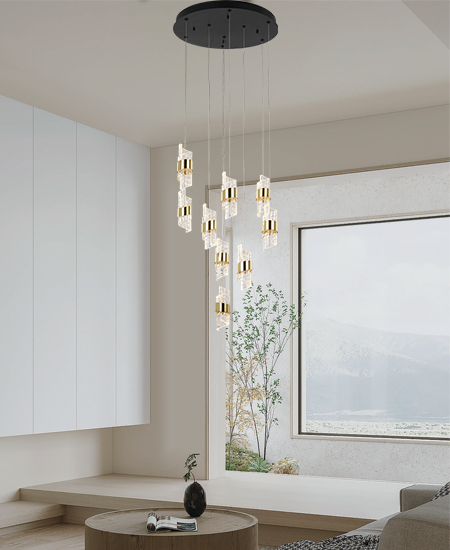
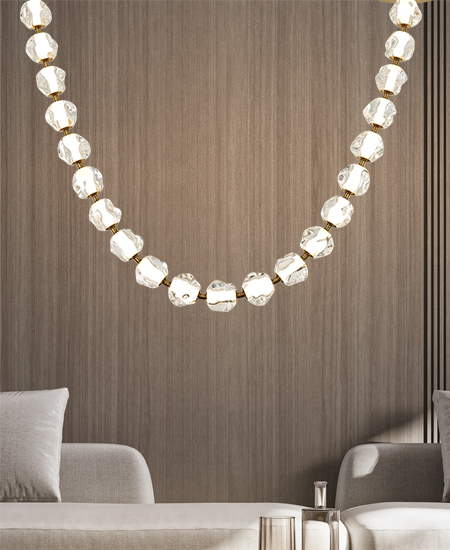
Now let’s compare where we’re headed, not just where we’ve been. New platforms treat lights like a system, not parts. Think stable constant-current drivers with low THD, firmware that keeps color point locked, and optics that shape spill with micro-facet lenses. Add adaptive control—wireless mesh or DALI scenes—that uses occupancy and daylight data. It’s not sci-fi. It’s how you get quiet ceilings and fewer fixtures. And yes, it flows into light design for home interiors too—kitchens that warm down at night, dens that hold color for art, and bedrooms that dim below 1% without shimmer. Big claim, small trick: tune the engine first, then the shade.
Real-world impact shows up as calm surfaces and lower loads. We phase out brute force brightness and lean on luminous efficacy where it counts. We protect eyesight with controlled UGR and correct beam spreads. We keep CRI high only where color work happens—task or art—so energy use stays lean. And we standardize controls (no more mystery dimmers—bless that). If you’re weighing options, use three simple metrics: one, does the system hold color and output over heat and time; two, does the dimming curve stay smooth under 1% without visible flicker; three, is the optic selection deep enough to solve tasks without glare. Meet those, and the rest falls in place—funny how that works, right? For a steady hand in that decision, you can always look to light design for home interiors case kits and lab-validated families from partners who test as a habit, not a headline. Shared goal, clear path, better rooms—everyday. kinglong
