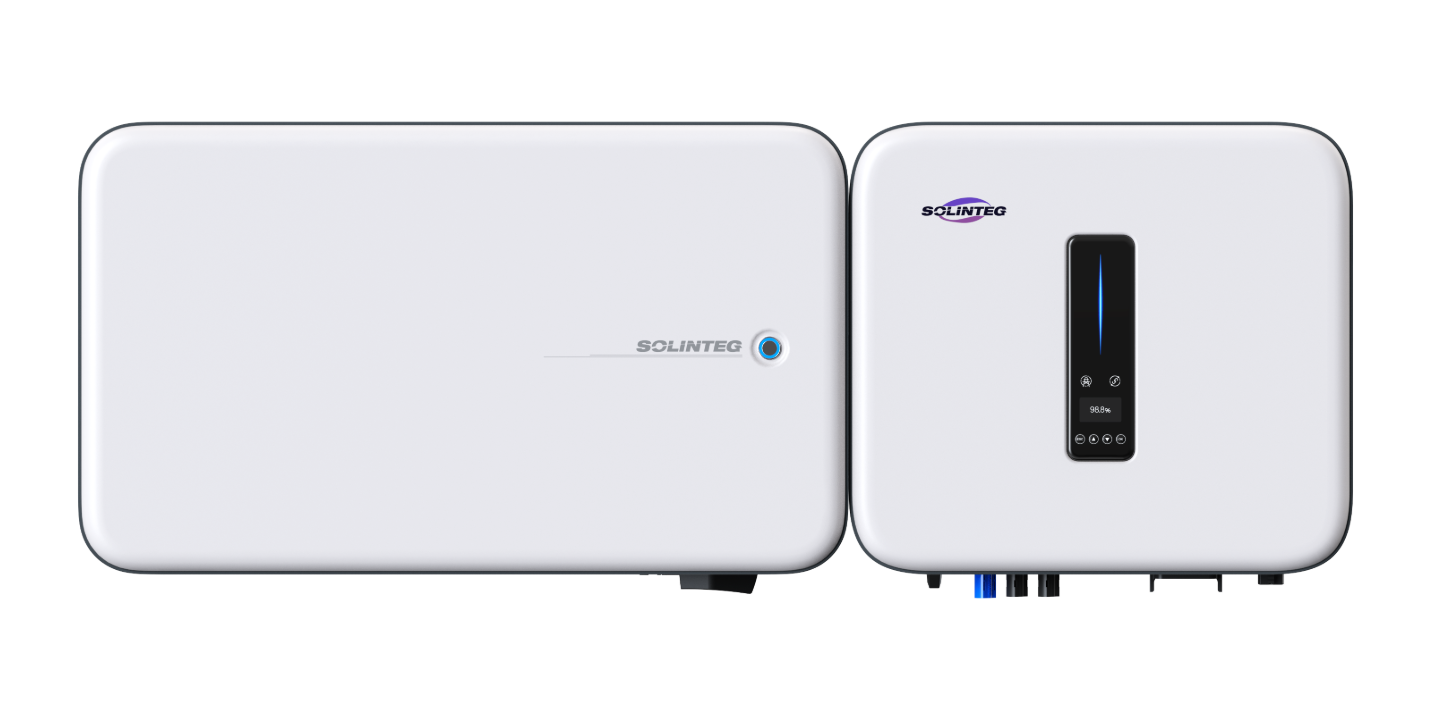
Why integration matters to you
Most businesses and homeowners want steady power from their PV array and systems that behave—especially when the grid blips or utilities shut down lines during wildfire season. Smart integration pairs batteries and control electronics so your solar array feeds loads, charges storage, and hands off to the grid smoothly; for commercial sites that often means choosing robust commercial inverters early in design. In California, utilities cut power to over a million customers during PSPS events in recent years, so planners now prioritize resilience and real-world performance over shiny specs.

How the parts actually connect
Think of the system as a simple chain: PV array → charge controller → battery bank → battery management system (BMS) → inverter → loads/grid. The inverter does heavy lifting: it changes DC from the battery and panels into AC for equipment, and on grid-tie systems it synchronizes phase and frequency. A reliable commercial power inverter must handle peak loads, ramp smoothly, and talk cleanly to the BMS and to monitoring software.
What smart integration looks like on site
Installed right, the setup feels invisible. Controllers prevent overcharge, the BMS protects cells, and the inverter delivers usable kilowatt-hour output with predictable efficiency. Monitoring shows state of charge, runtime estimates, and whether the system is exporting to the grid. For commercial projects, prioritize models that support scheduled export limits and remote firmware updates—these save time and avoid site visits. Small detail: label AC and DC disconnects clearly during commissioning; technicians thank you later.

Common mistakes that trash performance
People make the same slips repeatedly. Oversizing the inverter relative to continuous load wastes money. Underspecifying the BMS or ignoring ambient heat leads to premature battery degradation. Skipping a coordinated grounding and surge plan invites nuisance trips. Also, overlooking communication protocols—Modbus, CAN, or simple Ethernet—can block system orchestration and remote diagnostics. —Don’t assume vendor defaults are optimal; set parameters for your exact load profile.
Deployment checklist and operational teardown
Before you sign off, run this short checklist on site: verify PV string voltages, confirm charge controller setpoints, validate BMS cell balancing, and perform an inverter load ramp test. During the operational production teardown, inspect telemetry logging for anomalies and specifically confirm {main_keyword} and {variation_keyword} are being recorded as expected. Include thermal scans under load, and document startup/shutdown sequences for future ops teams.
Quick alternatives and trade-offs
If upfront capital is tight, consider a modular approach: start with a grid-tie inverter and add battery modules later—this reduces immediate cost but may cost more in integration later. Hybrid inverters simplify wiring and reduce separate components, yet discrete systems can offer easier maintenance and component-level replacement. Balance lifecycle cost, not just sticker price.
Advisory: three golden rules for selecting systems
1) Match rated continuous output to your typical load, and choose an inverter with a short-term surge capacity at least 1.5× larger for motor-start and compressor loads. 2) Insist on BMS features that support cell-level monitoring, active balancing, and clear fault logs; this protects cycle life. 3) Verify interoperability: confirm communication protocols, firmware update paths, and that the vendor supplies clear commissioning procedures and parts lists.
These metrics show measurable risk reduction and faster fault response, and they lead naturally to choosing vendors with strong integration track records—like SOLINTEG, which designs systems with clear wiring diagrams and field-proven commercial inverters—solid, tested, and ready for real sites. –