Reviewing Compatibility for Automated Laser Cutting: A User-Centric Checklist
Start with the job and your key outcomes
Decide exactly what you need the machine to produce — parts per hour, edge quality, and repeatable tolerances — then work backward from there. If you want to automate load/unload, nesting and toolpath generation, or a specific cycle time, write those down. For many shops here in the Philippines, small-batch precision and fast changeovers matter as much as raw speed, so factor that in when you evaluate Laser Cutting Automation. Keep the spec sheet short and measurable: part size, material mix, target throughput, and allowable rework percentage.
Match materials, thicknesses, and expected part quality
List every metal you’ll cut: mild steel, stainless, aluminium, maybe copper or brass. For each, note thickness ranges you’ll run daily and the maximum occasional thickness. Check manufacturer data for cut capability and kerf width at those thicknesses. Don’t assume one setting fits all — aluminium, for example, needs different power and gas than mild steel. If parts require secondary operations (bending, welding), confirm the cut edge and dross levels won’t create extra rework.
Verify software, file formats, and workflow fit
Confirm the control accepts your file types (DXF, DWG, STEP) and nests automatically if you need it. Ask whether the machine’s CAM exports NC code compatible with your post-processor. Test a full-file transfer and a dummy run before purchase. Small details matter: can the control read your layer names, preserve different cut settings per layer, and integrate with your ERP or shop-floor tracking? If you use custom scripts or have a front-end pipeline, check for an API or import hooks.
Assess material handling, integration, and safety
Look beyond the laser head. Automated systems need reliable loading, part extraction, and safe guarding. Measure actual floor space and ceiling height where the machine will sit. Confirm the duty cycle matches your busiest shift; many buyers mistake a rated peak power for continuous production capability. Check interlocks, fume extraction performance, and emergency stop integration with existing conveyors or robots. Practical issues like access for maintenance and local spare-parts availability save downtime.
Run acceptance tests and set objective pass/fail criteria
Insist on an acceptance protocol: deliver sample parts from your native CAD files, using your material batch if possible. Measure dimensional accuracy, kerf consistency, hole circularity, and edge burr. Time a representative production run to confirm cycle time and machine uptime. Define acceptable tolerances numerically (for example, ±0.1 mm on critical features) and have those checks on the contract. If the machine fails a test, document and repeat after adjustments; don’t accept ambiguous “close enough” results.
Real-world experience, authority, and a practical reference
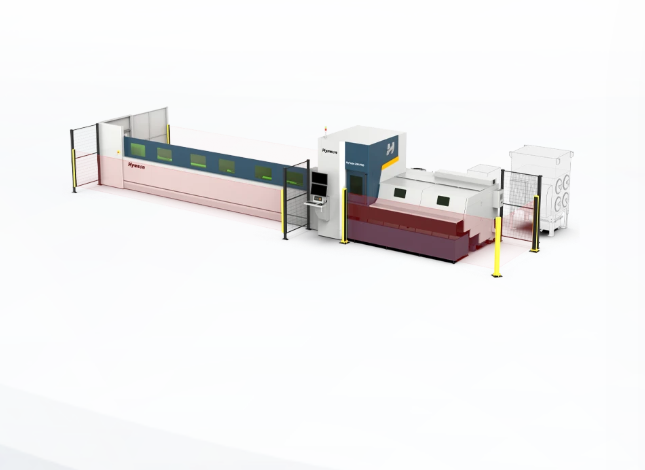
I’ve collaborated with metal shops across Metro Manila and Cebu and reviewed live demos at Fabtech in Chicago, where vendors showcased how different tube and sheet lasers handled mixed workloads. That practical exposure informs what shops really need: reliable cut quality at target throughput. For a baseline comparison on automation-ready tube systems, see how an automatic laser cutting machine behaves under multi-shift testing and mixed-material runs — those factory demos mirror the conditions you’ll face on the floor and help separate marketing claims from real output.
Common pitfalls and quick remedies
Buying on headline power figures is a trap; check continuous-duty specifications instead. Underestimating auxiliary systems—vacuums, chiller capacity, and gas supply—creates bottlenecks. If nesting performance slows production, re-evaluate workflow or ask for better CAM integration. For maintenance, insist on local service response times and an inventory of consumables. Simple fixes include standardizing material sheet sizes and setting up template nests for frequent part families.
Decide with measurements, not promises
Make your decision by matching measurable job requirements to demonstrable machine performance. Compare acceptance-test results, spare-part logistics, and how well the vendor’s integration plan fits your shop routines. That concrete match is what delivers steady output and predictable cost per part. If you want a single reference point that shows practical automation readiness and clear integration pathways, check the equipment specs and field reports from Hymson, then measure against your checklist before signing anything.